
You deserve press-on nails that last three weeks, right? I have a nail hack: acrylic powder to make press-on nails stronger and longer-lasting. If you want your press-ons to be rock solid, try this trick! As if bestowing a superpower upon them! You won’t believe how long they endure—three weeks of worry-free wear.
2 Methods: Long-lasting Press on Nails Hack with Acrylic Powder
Selena On Digital has a very clear and informative tutorial with the press-on nails with acrylic hack, so I have taken these steps from her tutorial to teach you guys.
Method#1:
Step 1: Supplies you’ll need
- Liquid monomer
- Nail dehydrator
- Nail Primer
- Acrylic primer
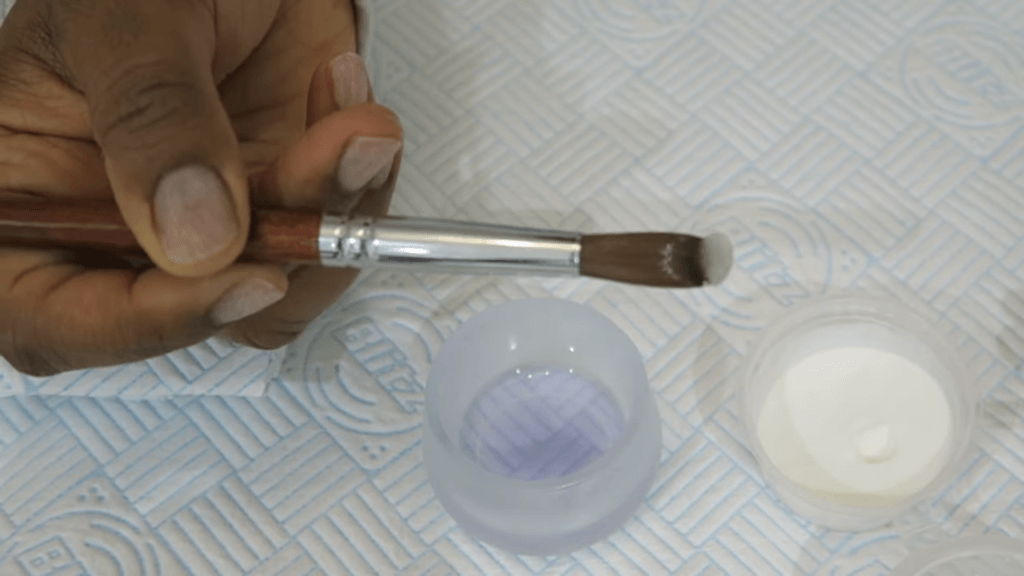
- Sable hair acrylic brush
- Dappen dish
- Acrylic powder
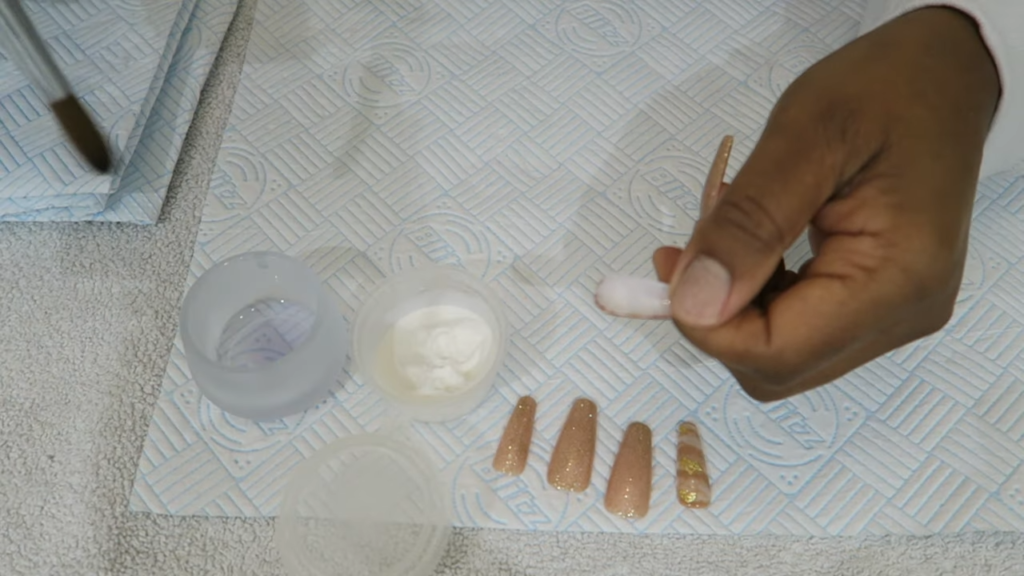
- Press on nails
Step 2: Nail Preparation
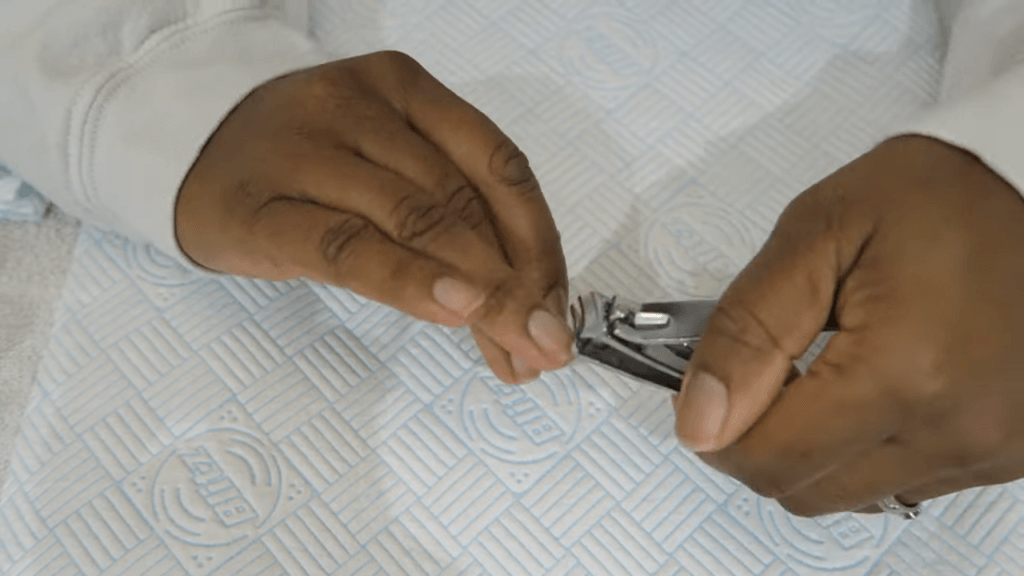
It’s better to trim your nails short.
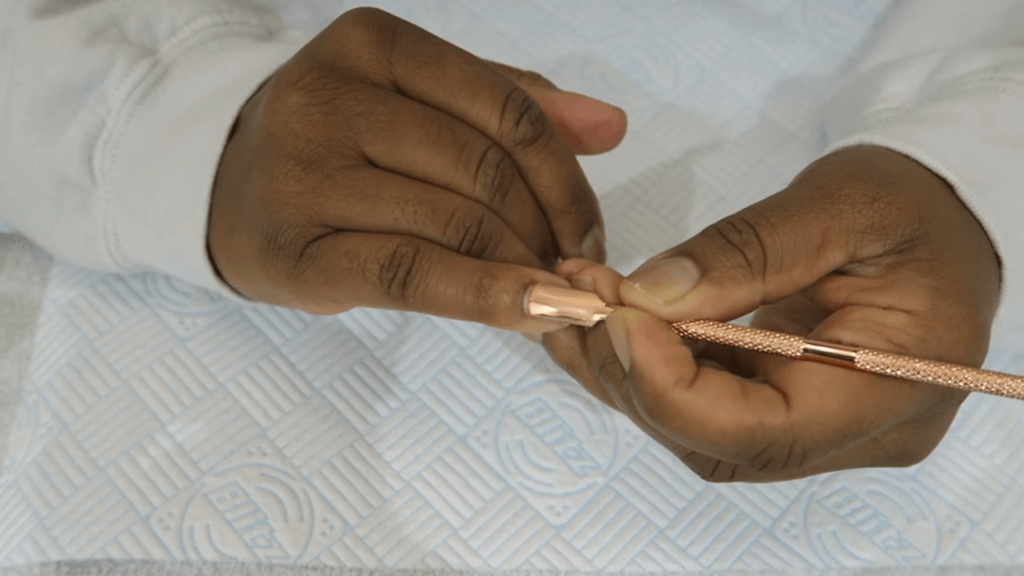
Use a cuticle pusher to push back cuticles and also remove the cuticles. If you want your acrylic to stay put, file off any gloss on your nails first. The next step is to prepare your nails so the paint sticks better.
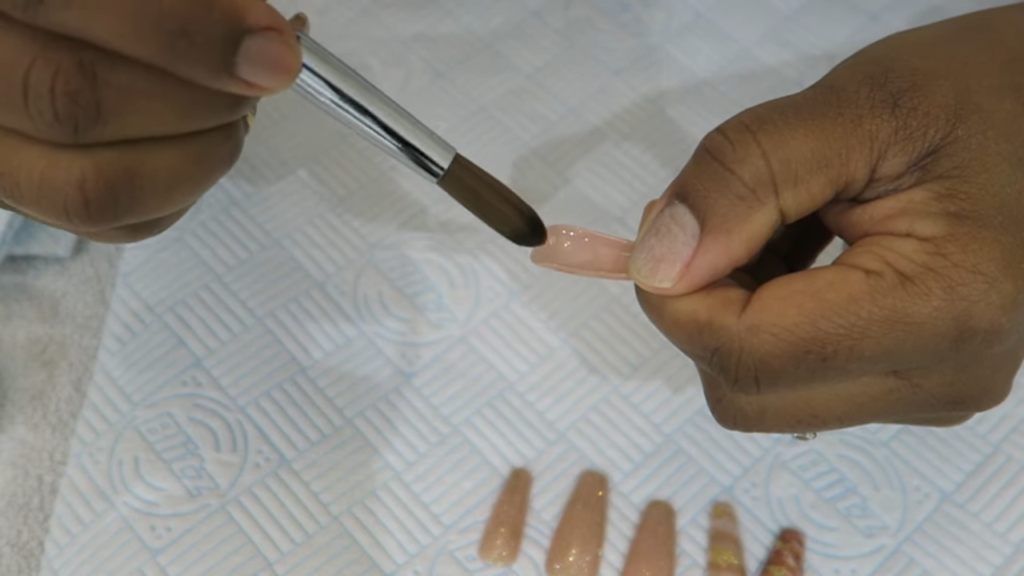
Step 3: Acrylic Application
Dip your brush into the liquid monomer, then into the acrylic powder. Collect an acrylic bead with the right consistency (not too wet or dry).
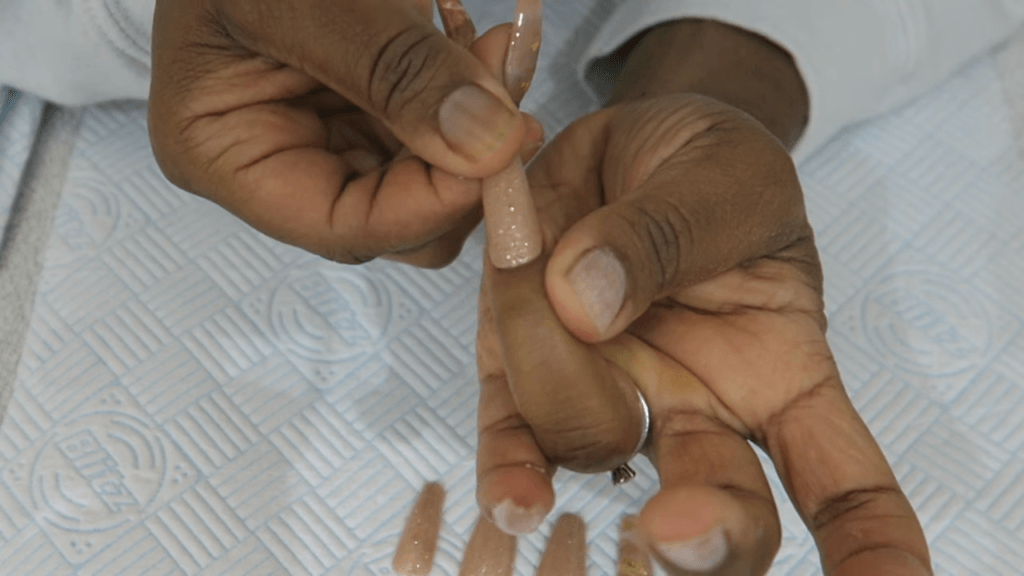
Step 4: Application Process
Place the acrylic bead on the press-on nail, then gently press it onto your natural nail, starting from the cuticle and moving toward the free edge.
Step 5: Smoothing Out
Use the brush to smooth the acrylic and remove excess. Repeat this process for each nail. Make sure you place the press-on nail on your natural nail firmly so it won’t trap any air bubbles underneath.
Step 6: Extra Strength (Optional)
For added durability, apply a layer of acrylic underneath the press-on nails. Also, remove the extra acrylics from the bottom of your press, or they will harden and create trouble afterward.
Step 7: Drying
Allow the acrylc to dry completely. You don’t need any UV lamp to cure it. Let it air dry.
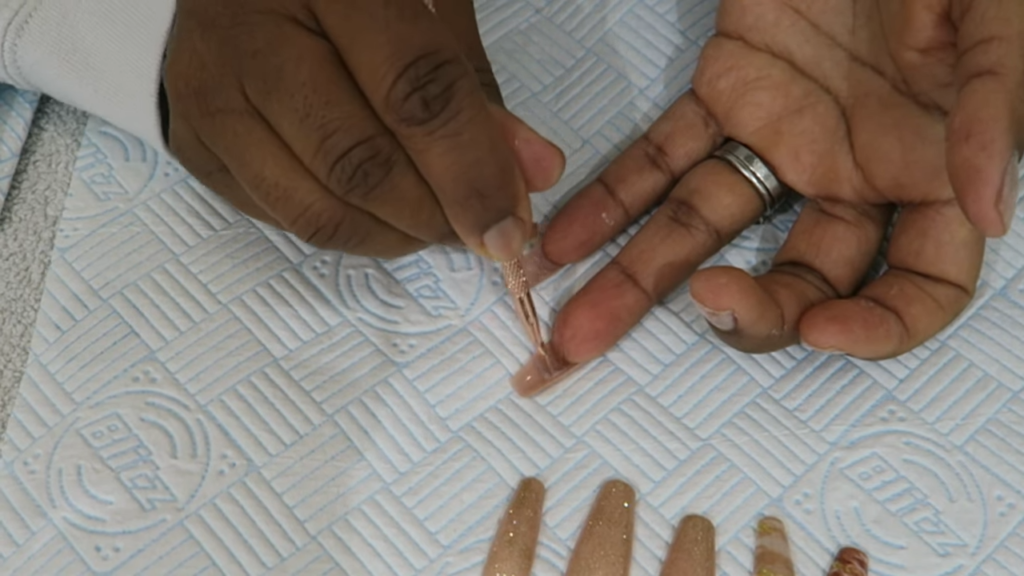
Step 8: Shaping
Once dry, file and buff the nails to achieve your desired shape.
Step 9: Polish Your Nails
Apply your preferred nail polish, or you can add a top coat to add extra shine.
Step 10: Final Touch
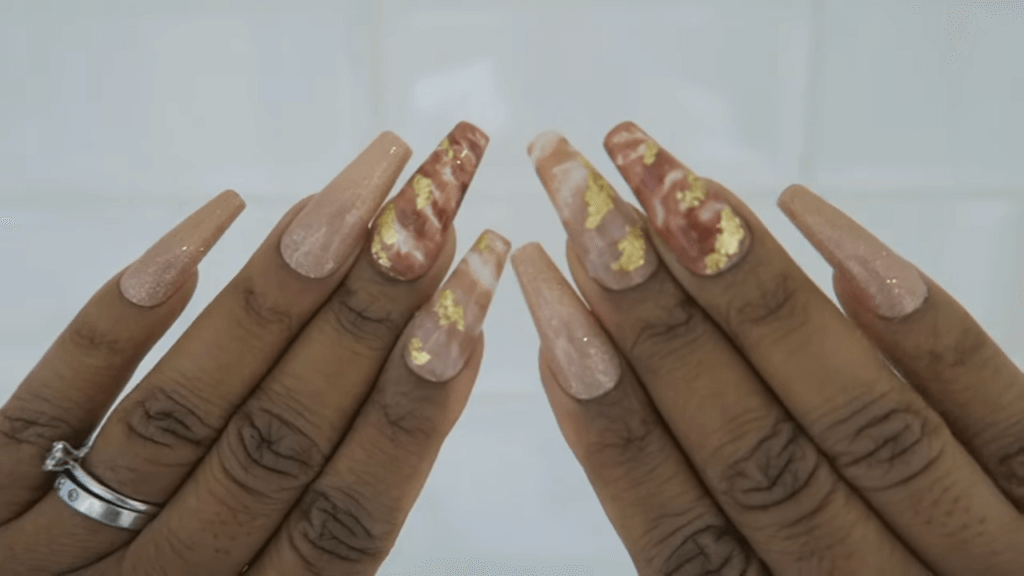
Your acrylic-applied press-on nails are now ready to wear!
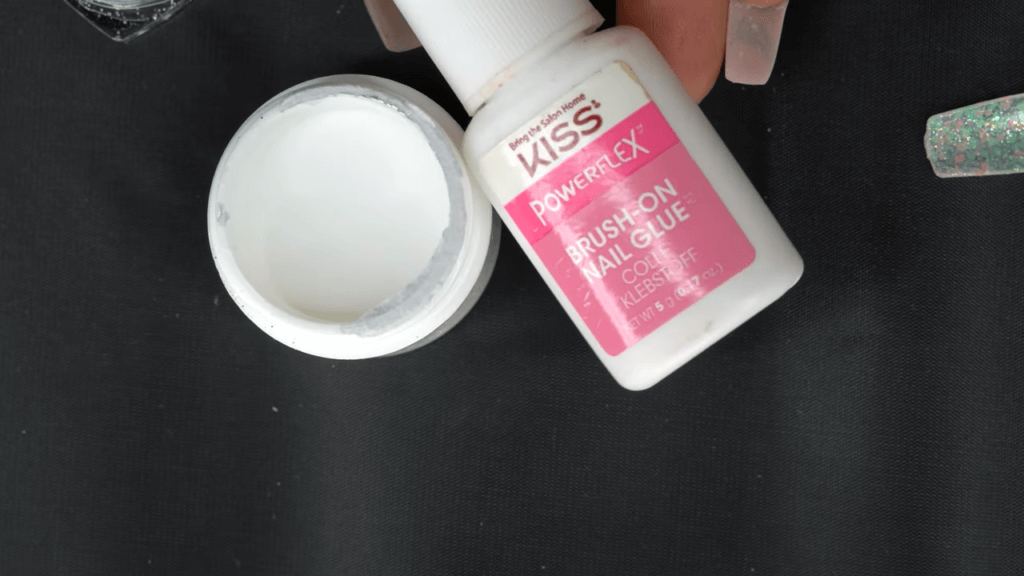
Method 2: Use Acrylic powder with Brush on Nail glue
You can use acrylic powder with brush on nail glue to adhere the fake nails longer.
The supplies you’ll need
- Brush on Nail glue by Kiss
- Kiss Acrylic Powder
- Dehydrator or Nail primer
- Kiss Press on nails
- Clean up your cuticles and file your nails.
- Using a nail dehydrator or alcohol wipe, clean your nails to remove any extra oil or moisture. You can also use nail primer to provide a clean and dry base.
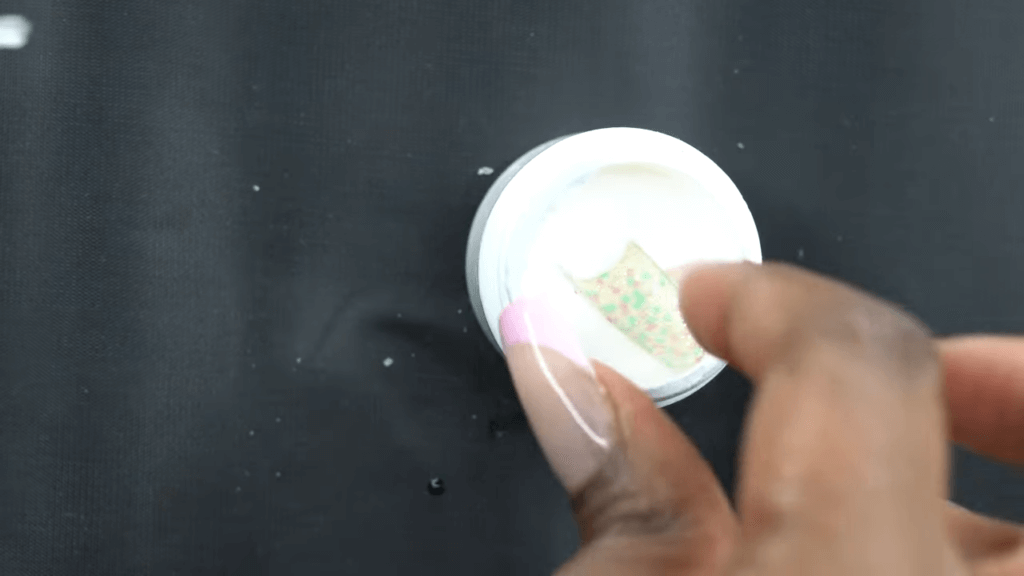
- Apply a thin layer of brush on nail glue to the back of the press on the nail.
- Dip the fake nail into the clear acrylic powder.
- Apply a thin coat of brush on nail glue to your natural nail, where you’ll put your press-on nail.
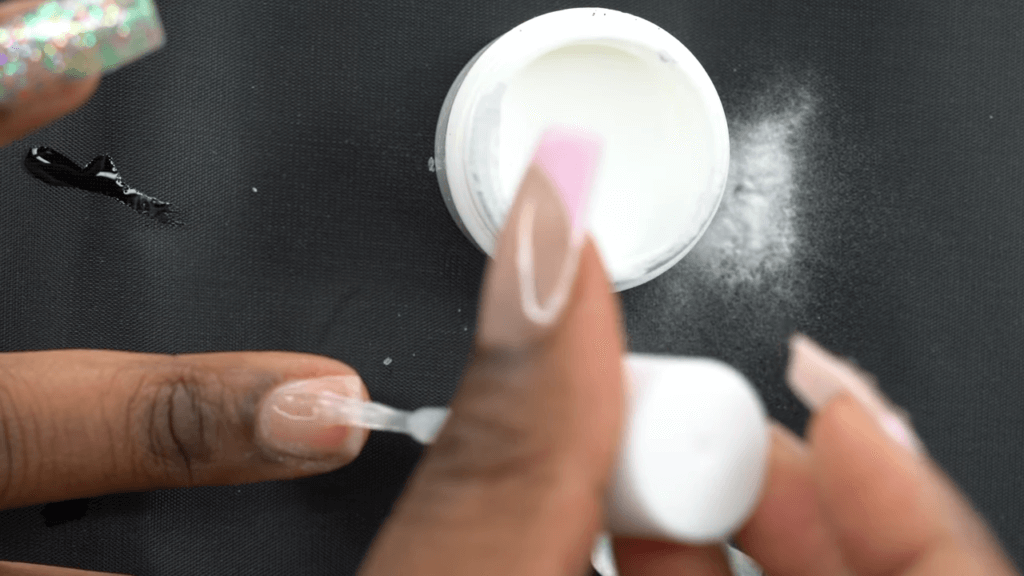
- Apply the press-on nail to the natural nail, starting at the cuticle and pressing down firmly. It is very important that you place the fake nail on the cuticles first without touching the natural nail anywhere.
- Once the press on the nail is applied, use a nail file to clean up the edges. You can then apply a gel top coat for added shine and protection.
Can you shower with the press-on nails on?
There’s absolutely no harm in taking a shower with the press-on nails. You can do your household chores, swim, or wash with the media on your nails.
Why do nails hurt after putting on a press-on?
ILL-fitted nails are the number one cause of press-on nail pain. When the nail size isn’t correct, it is too large or too small, and it will put pressure on your natural nail, leading to discomfort and pain.
Can I reuse press-on nails?
Yes, press-on nails are reusable for a long time if you properly remove them and store them carefully. These fake nails can be reused for prolonged periods of time.
How to make press-on nails thicker
You can use an acrylic monomer mixture under the press-on nails to make your press-on nails thicker. It will create a solid base to protect the press on nails from breakage and your natural nails will grow without breaking.
Can I use gorilla glue with press-on nails?
Gorilla glue can be used on fake nails, but it should be avoided as water can be trapped under the press, leading to infections. Also, it takes time to cure fully, while normal nail glue doesn’t require curing.
Are press-on nails safe for pregnancy?
It’s completely safe to use press-on nails during pregnancy; however, if your nails are thinner than usual, you should avoid using them.
Can I use Krazy glue or super glue on press-on nails?
Due to its formulation, super glue or Krazy glue isn’t suitable for press-on or fake nails. It contains harsh chemicals and etching agents that can harm the skin when used for prolonged periods or in direct contact. Additionally, Super Glue isn’t designed specifically for nail application, so it can lead to potential skin irritation and allergic reactions and even cause the nails to swell or become damaged due to its water-absorbing properties. Opting for adhesives specifically made for nails ensures safety, avoiding the potential risks of using Super Glue on press-on or fake nails.
Can we reuse Olive and Jones’ press on nails?
Yes, Olive and Jones press-on nails are easily reusable thanks to their safe removal method that requires soaking your nails for 10 minutes in warm, soapy water, and your nails will be removed safely without any damage.
How do you prepare nails for press-on?
Clean your natural nails thoroughly to remove any oils or residue for optimal adhesion and long-lasting results with press-on nails. Gently buff the nail surface to create a slightly rough texture for better grip. Apply a primer or alcohol wipe to dehydrate the nail surface, enhancing adhesion. Ensure the press-on nails fit correctly by sizing and shaping them to match your natural nails. Lastly, firmly press and hold the press-on pins in place for a few seconds to secure them effectively.